How to restore profile from Autobackup 7 Pro
How to restore profile from Autobackup 7 Pro
How to restore profile from Autobackup 7 Pro certainly takes out the unwanted pressure of knowing or even remembering where you need to put the data in the first place.
Run the program with a double-click (a privilege elevation request may appear, grant it):

Click “Restore data”.
– Use the popping up explorer window and select the Backup.conf file located in the backup folder (for example: E:\Backup\YYYY-MM-DD\Computer_Name\Backup.conf)
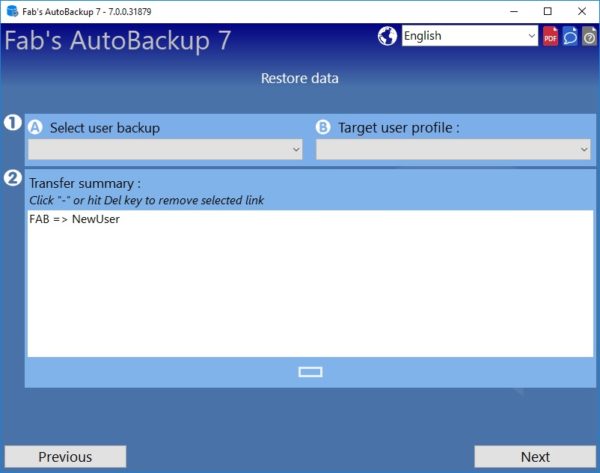
– All the available backups appear in the first dropdown menu. Select a backup to restore in the A menu, then, select in the B dropdown menu the user account that will receive data from this backup. If the target account does not exists, select the “Add a user local account” option and fill the user creation form that will appear.
– Click the “Next” button once you have the mapping you want between the backup and the target user accounts (you can set more than one mapping at a time for multiple profiles restore) :
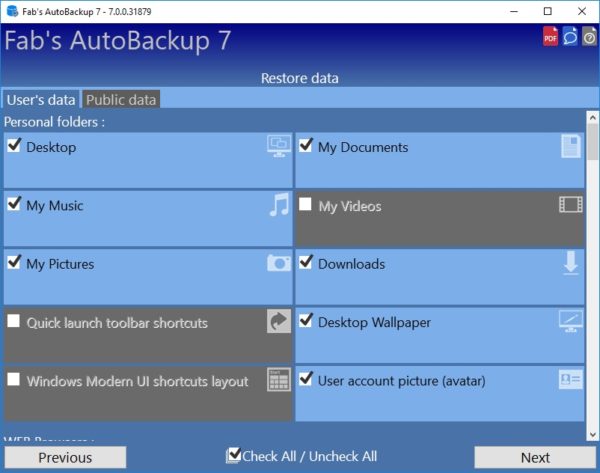
Items in the backup appear in colored tiles (light blue by default). Unavailable items remain in grey. Every available item is selected automatically.
– Items are sorted in tabs.
– To uncheck and check all items in a tab at once, use the “Check All/Uncheck All” box at the bottom.
– Show the selected items list by clicking the “Next” button on the last available tab.
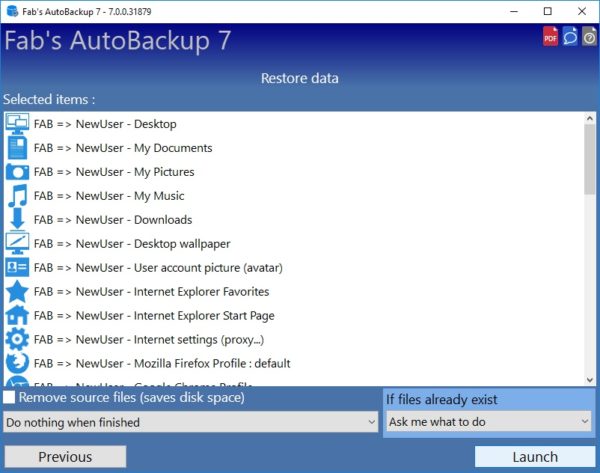
Selections show up. To make some changes, click the “Previous” button. Select the default action at the end of process: do nothing, play a sound or shut down the computer. Select the default behavior if files are going to be overwritten. Source files can be removed by checking the matching check box.
This is useful if the backup is on the system drive as soon as the process is very fast and saves disk space. Run the restore process by clicking “Launch” button:
Files are now being listed for copy. While listing, the program counts the files and gets their size. You can stop this process by clicking the “Cancel” button (circled cross):
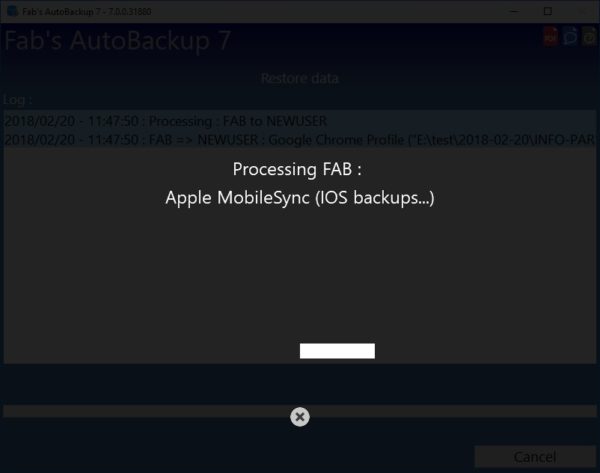
All the events appear in the log. It shows information, warnings and errors. If for some reason you need to stop the copy, click the “Cancel” button:
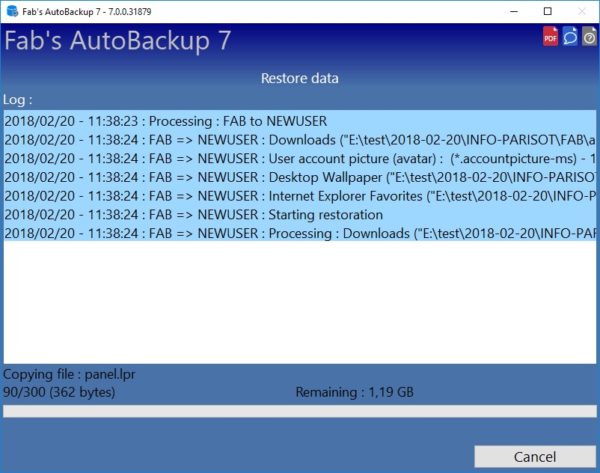
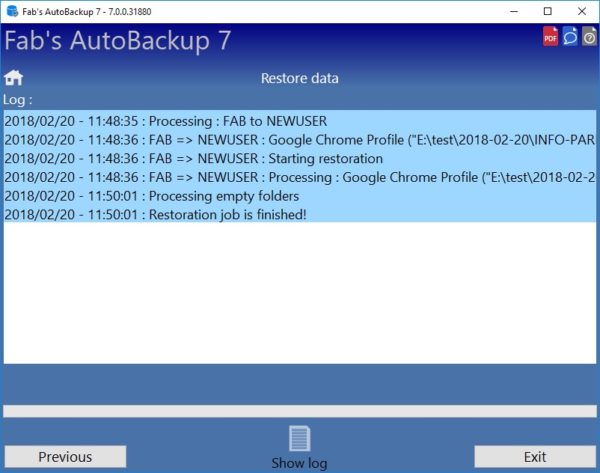
At the end of the restore process, the log is stored in an html file on the desktop. It is named like:
“Restoration_Log_-_YYYY-MM-DD_-_HH-MM-SS.htm “. If you did not choose to shut down the computer, you will be able to open it directly by clicking the “Show log” icon when the copy is finished or cancelled. You can go back to items selections by clicking the “Previous” button , go back to the welcome screen , or close the program using the cross button in the upright corner or the “Exit” button in the downright corner.
How to transfer profiles using Fab’s AutoBackup 7 Pro
How to backup profile from Fab’s AutoBackup 7 Pro
Download Fab’s AutoBackup 7 Pro