How to transfer profiles using Fab’s AutoBackup 7 Pro
How to transfer profiles using Fab’s AutoBackup 7 Pro
How to transfer profiles using Fab’s AutoBackup 7 Pro from an external drive for example to a new computer setup.
This function allows you to transfer data from user profiles to others. Source user profiles can be on a local hard drive or a pulled one. In example, you can USB attach the old computer drive and use the transfer function to migrate files and settings to the new computer.
– Run the program with a double-click (a privilege elevation request may appear, grant it):

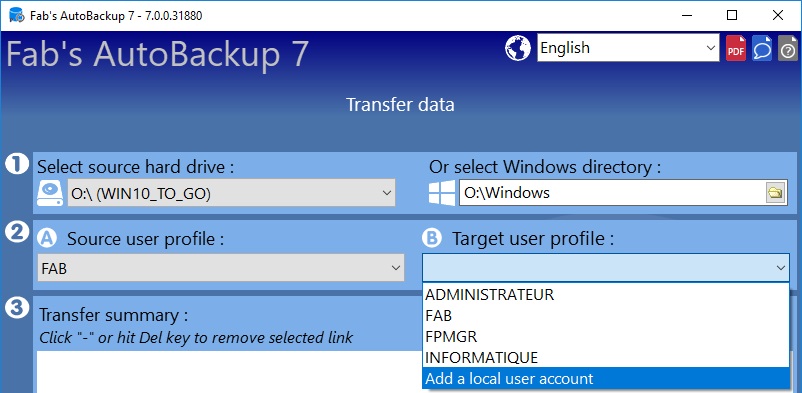
Click “Transfer data”
– Select the source hard drive. If the source user profile is already on your local system drive, do not change anything here.
– Select source user profile in dropdown menu A
– Select target user profile B that will get data from user profile A. If the target user profile does not exist on the local computer, select “Add a local user account” in the dropdown menu B. See the “Add a new user account” section below.
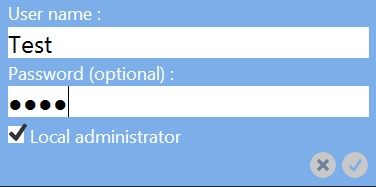
Add a new user account:
– Type the user’s name
– Enter a password if you want to protect it. This is optional.
– If the new user account needs to be a local administrator, check the “Local administrator” box.
– Click the blue tick button to create the user account.
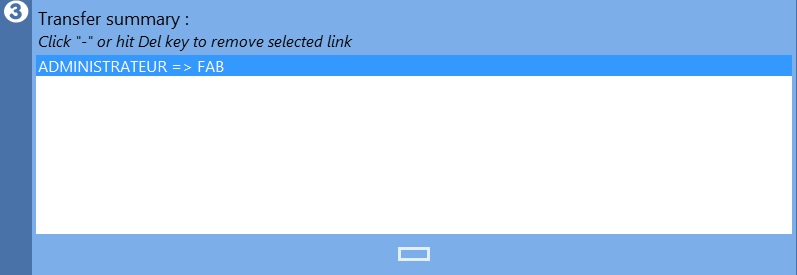
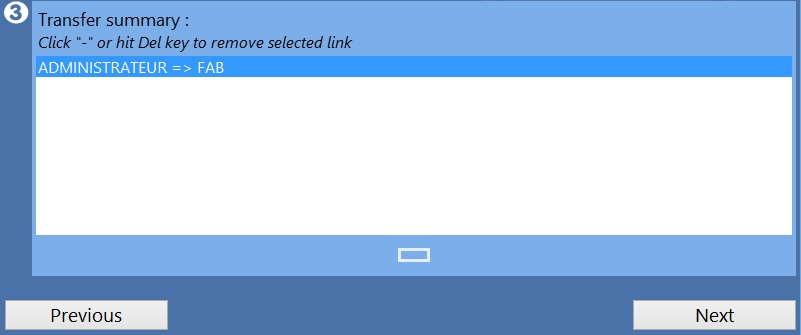
If user accounts are linked by mistake, select the “link” in the transfer summary list, then click the blue rectangle button or hit the “Del” key to remove it.
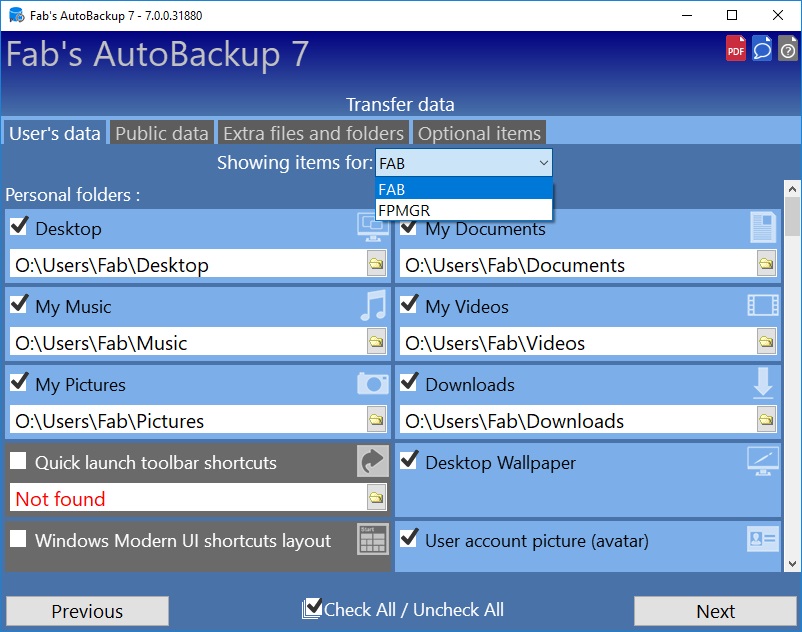
Click the “Next” button for items selections or click the “Previous” button to go back to then welcome screen.
A drop down menu gives access to items per user. Select the user name to see the matching items.
– The program auto-detects available items and selects them. To unselect all, click the “Select all/Unselect all” box at the bottom of the window.
– To reselect all, click the same box again.
– Items are sorted in categories. Every checked item will be processed. To navigate between categories, use the mouse wheel or the vertical scrollbar.
– Public folders can be accessed using the tabs.
How to use the Microsoft Outlook data files section:
– Fab’s AutoBackup auto-detects default data files (according to messaging profiles). Every detected item is selected. To unselect a file, uncheck its box in the list.
– If some files are missing from the list, use the drop down menu to select a search location and the magnifying lens picture to scan the selected drive or to add the file manually using the last option of the drop down menu.

– Every found file is added to the list and selected.
You can get the license keys for Windows and Microsoft Office programs to reinstall them later using “ProduKey” from NirSoft. This tool is not bundled with Fab’s AutoBackup but it is easy to get it straight from the program: you need to be connected to the Internet and proceed like this:
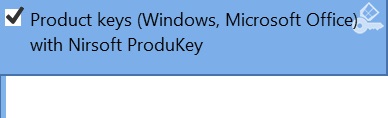
– Go to the bottom of “Public data” tab
– Check the “Product Keys (Windows, Microsoft Office) with Nirsoft ProduKey box
– A message prompt asks for program download, click “Yes”.
– Once downloaded, the “Produkey.exe” utility is saved in the Fab’s AutoBackup executable directory, in the “ProduKey” subfolder.
To add extra folders to the process:
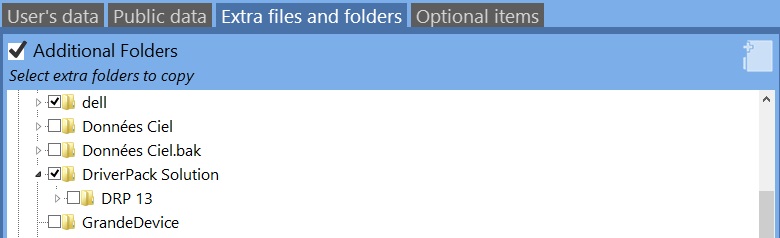
– Click the “Extra files and folders” tab
– In then “Additional folders” square, use the tree view to navigate to the folder to add and check its box.
– To remove an additional folder, just clear its box.
Comment: expanded folders will be added without their subfolders, collapsed ones will be entirely processed.
You can add extra files too. Use the “+” to add a file and the “-” button to remove the one selected in the list. Other settings like files or folders exclusions can be added. These items are in the “Optional items” category.
To exclude files by type, jump to the “Optional items” tab:
– Check the “Exclude files by type” box or click in the text field.
– Type the files types to exclude. Example : *.tmp
– To exclude more files types, use the “;” character as separator like in the example below :

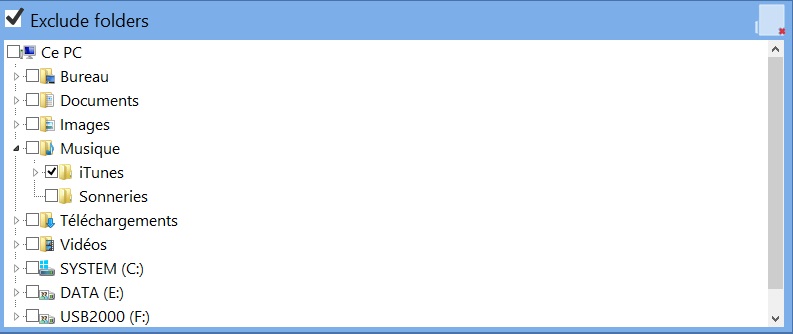
To exclude folders:
– Check the “Exclude folders” box
– Use the explorer tree to select the folder to exclude.
Once your selections made, click the “Next” button on within the last tab to see the selected items summary. The summary is a list showing the selected items and helps in checking if everything is OK before the files copy. To go back to selections, click the “Previous” button. Backups can take a long time, depending on the files number and their size. This is why there is a dropdown menu allowing to choose what to do after the. Here are the available options:
– Do nothing when finished: the program waits for your action
– Play a sound when finished: to warn you at the end of the process
– Shutdown computer when finished
– Email log when finished*
– Play sound and email the log when finished*
– Email the log and shutdown computer when finished*
If you have already made other backups in the same folder (a fixed location, without dated subfolder), you can synchronize the backup with your actual files: all the files in the backup missing
on the computer will be removed. Use this option only if you know what you are doing because it can destroy files in your backup. To use it, check the “Purge old files on the destination” box.
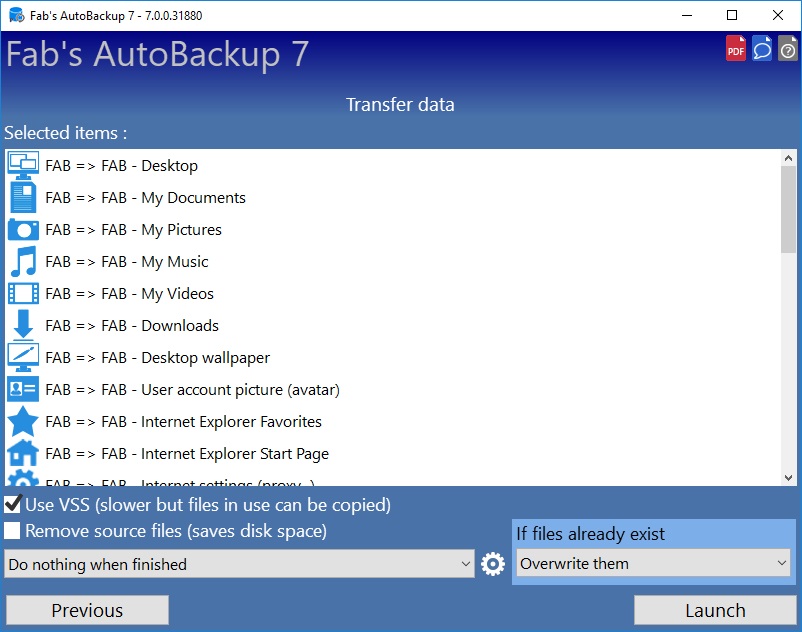
Another menu is there to set the default action to take with already existing files.
Finally, there is an option to make the program use VSS snapshot before starting the transfer job. This is useful if you are transferring files from the current system drive and have running programs that can lock files. To not use it (for speed reasons for example), uncheck the “Use VSS” box.
To start the copy, click the “Launch” button.
* email information such as sender, recipient and SMTP server must be set. An email settings window appears if these settings are missing. Email settings can be changed using this icon ![]()
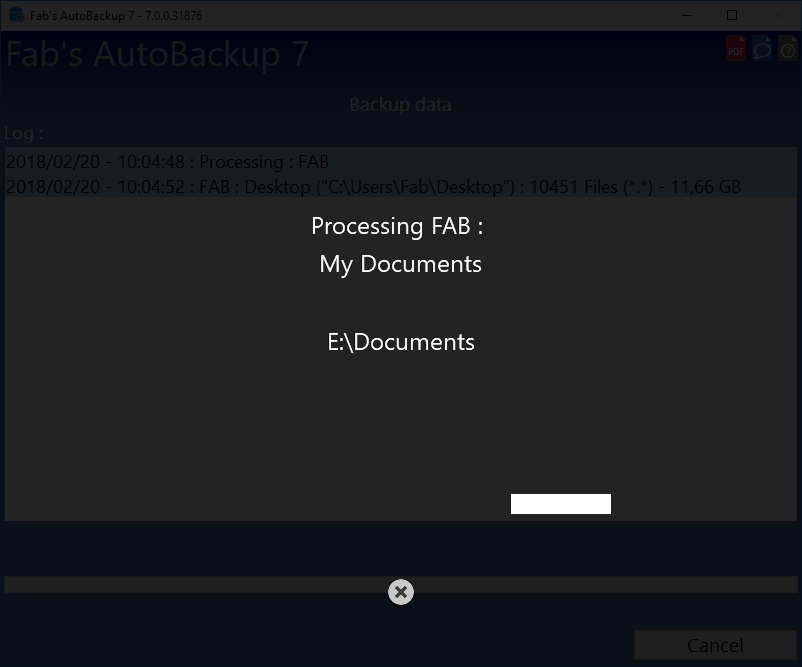
The program starts the files listing, counts them and measures their size. You can abort this process by clicking the “Cancel” button (the circled cross button):
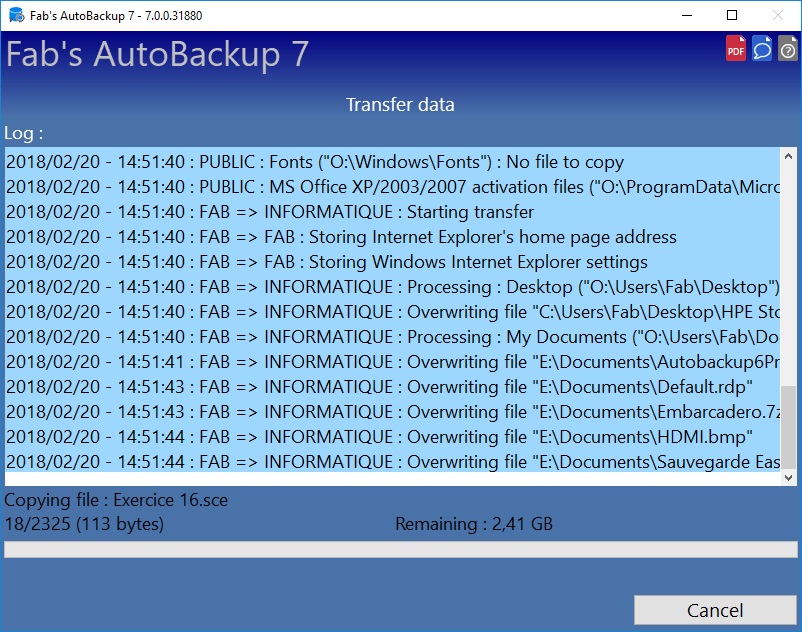
Transfer starts. All the events appear in the log. It shows information, warnings and errors. If for some reason you need to stop the copy, click the “Cancel” button:
At the end of the transfer process, the log is stored in an htm file on the local public desktop. It will be named like: “Transfer_Log_-_YYYY-MM-DD_-_HH-MM-SS.htm”. If you did not choose to shut down the computer, you will be able to open it directly by clicking the button “Show log icon” when the copy is finished or cancelled. You can go back to items selections by clicking the “Previous” button , go back to the welcome screen , or close the program using the cross button in the upright corner or the “Exit” button in the downright corner.

How to backup profile from Fab’s AutoBackup 7 Pro
How to restore profile from Fab’s AutoBackup 7 Pro
Download Fab’s AutoBackup 7 Pro